Introduction to Drywall
Drywall, also known as gypsum board or plasterboard, is a widely used building material that forms the interior walls and ceilings of homes and commercial properties. Its popularity stems from its affordability, ease of installation, and versatility, making it the go-to choice for both residential and commercial construction projects. Understanding the fundamentals of drywall is essential for homeowners and contractors alike, as it allows for effective planning and execution of various construction tasks.
What is Drywall?
Drywall is primarily composed of a core made from gypsum, sandwiched between two sheets of heavy paper or fiberglass. This structure provides numerous advantages, including fire resistance, sound absorption, and ease of finishing. Drywall is available in multiple sizes and thicknesses, which allows it to be tailored to various applications, from standard interior walls to specialized uses in high-moisture areas like bathrooms.
History of Drywall Installation
The history of drywall dates back to the early 20th century. Initially, builders used traditional plaster methods, which were labor-intensive and time-consuming. In response to the demand for a quicker, more efficient wall construction method, drywall was introduced. It gained immediate popularity among builders due to its reduced installation time and costs. Over the decades, innovations in production have led to improved varieties, such as fire-rated and moisture-resistant drywall, catering to diverse construction needs.
Benefits of Using Drywall
Using drywall comes with a wealth of benefits. For starters, it is relatively inexpensive compared to other wall materials, making it accessible for renovation and new construction projects. Its lightweight nature simplifies transportation and handling, while its smooth surface provides an ideal canvas for paint and decorations. Additionally, drywall allows for excellent insulation and can be installed quickly, significantly reducing labor costs. Fire-resistant options contribute to building safety, making drywall a preferred material in both residential and commercial construction.
Essential Tools for Drywall
Having the right tools for drywall installation is crucial for achieving a professional finish and making the process efficient. A skilled tradesperson relies on specific equipment designed for various phases of the job, from hanging to finishing.
Must-Have Drywall Tools
The essential tools for drywall installation include:
- Measuring Tape: Accurate measurement is key in any construction project. A sturdy tape ensures precise cuts and layout.
- Utility Knife: For cutting drywall sheets, a utility knife provides clean and straight edges.
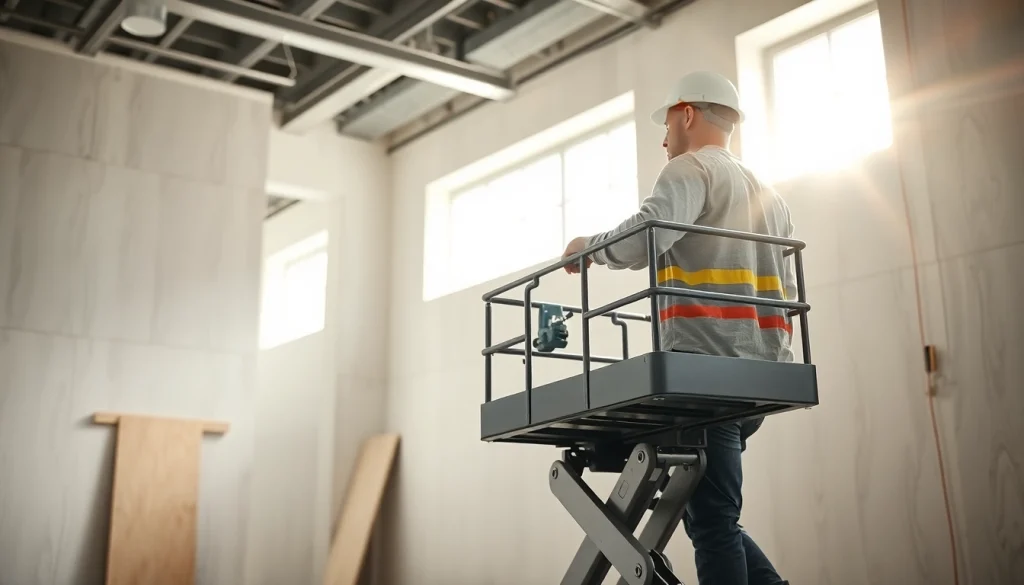
- Drywall Lift: This tool helps to elevate and hold drywall sheets against ceilings or high walls, making the installation process easier and safer.
- Screw Gun: A power tool specifically designed to drive screws quickly and consistently into drywall without damaging the material.
- Drywall Trowels and Mud Pans: Used for applying joint compound to seams, these tools help achieve a smooth finish.
- Corner Bead Tool: This tool provides reinforcement for edges and corners, ensuring durability and a polished appearance.
Safety Gear for Drywall Installation
Safety should always be a priority during drywall installation. Essential safety gear includes:
- Safety Glasses: Protects eyes from dust and debris during cutting and installation.
- Dust Mask: Minimizes inhalation of dust particles during the sanding process.
- Gloves: Offers protection against cuts while handling sharp tools and materials.
- Hard Hat: Recommended in construction environments to safeguard against falling debris.
Tool Maintenance Tips
Maintaining your drywall tools extends their lifespan and ensures optimal performance. Here are some practical tips:
- Clean After Use: Wipe down tools with a clean cloth after each use to remove dust and debris.
- Sharpen Blades: Regularly sharpen blades on utility knives and trowels for cleaner cuts and finishes.
- Store Properly: Keep tools in a dry place, organized, and away from extreme temperatures to prevent damage.
Drywall Installation Techniques
Understanding the proper techniques for drywall installation can drastically affect the outcome of your project. From preparation to finishing, each step is integral to a successful installation.
Preparation Before Installation
Before you start hanging drywall, preparation is vital. This includes:
- Evaluating the Area: Inspect walls and ceilings for any existing damage or imperfection that needs to be repaired prior to installation.
- Gathering Materials: Ensure you have the correct amount of drywall, screws, and joint compound, as well as all required tools.
- Preparing the Space: Clear the area of obstacles and ensure good lighting to enhance visibility during the installation process.
Step-by-Step Drywall Hanging
Here’s a step-by-step guide to hanging drywall:
- Measure and Cut: Carefully measure the area where drywall will be hung and cut the sheets to size using a utility knife.
- Position the Sheet: Lift the drywall sheet against the wall or ceiling, ensuring it aligns with existing studs or supports.
- Secure the Drywall: Using a screw gun, attach the drywall sheet to the studs or framework. Be sure screws are recessed slightly below the surface.
- Continue the Process: Repeat for additional sheets, ensuring seams are staggered between each row to enhance stability.
Finishing Techniques for a Polished Look
Once your drywall is hung, the finishing stage is crucial for a professional appearance. Follow these steps:
- Apply Joint Compound: Use a trowel to evenly spread joint compound over seams and screw holes.
- Let It Dry: Allow the joint compound to dry fully, following manufacturer recommendations.
- Sand Smooth: Once dry, sand the surface with a fine-grit sandpaper until smooth.
- Prime and Paint: After sanding, apply a primer before painting for a flawless end result.
Common Drywall Problems and Solutions
Even with the best practices, drywall issues can arise. Knowing how to identify and tackle these problems can save time and money.
Identifying Drywall Defects
Common defects include:
- Cracks: Often caused by settling or temperature changes.
- Bulging Seams: Usually result from improper installation or moisture damage.
- Water Stains: Indicate possible leaks and require immediate attention to prevent mold.
Repairing Damaged Drywall
Repairing drywall damage involves several steps:
- Small Holes: For holes smaller than a quarter, apply joint compound with a putty knife and sand when dry.
- Medium Holes: Use a patching compound or a piece of drywall for larger holes, securing with joint tape.
- Water Damage: Assess damage severity; replace affected sections and use a mold-resistant joint compound.
Preventative Measures for Longevity
To ensure drywall lasts, consider the following preventative measures:
- Proper Ventilation: Maintain good air circulation to prevent moisture buildup.
- Regular Inspections: Frequently check for cracks, stains, and signs of water damage.
- Quality Materials: Always use high-quality drywall suited for the specific environment to enhance durability.
Frequently Asked Questions
What is the best type of drywall for different rooms?
Standard drywall fits most areas, while moisture-resistant drywall is ideal for bathrooms and kitchens for added protection against humidity.
How do I calculate the amount of drywall needed?
Measure the wall and ceiling areas; then divide total square footage by the coverage of each drywall sheet, typically 32 square feet.
What tools do I need for drywall installation?
Key tools include a measuring tape, utility knife, drywall lift, screw gun, and finishing tools like trowels and mud pans for optimal results.
Can I install drywall myself?
Yes, installing drywall is feasible with the right tools and knowledge; however, for complex projects, hiring a professional may be advisable.
How do I fix small holes in drywall?
Use joint compound with a putty knife for small holes, sand the patched area, and repaint for a seamless blend with surrounding surfaces.